There is a Walkie Talkie app on your Apple Watch. With the help of this app, you can have enjoyable conversations with your contacts. It functions very similarly to how conventional walkie-talkies do. By providing a real-time, direct, and instant method of communication with your friends, it enables you to convert your watch into a walkie-talkie. The sound transmission and range are different from conventional walkie-talkies, though. The range of Apple Watch’s Walkie Talkie app will be described in this article.
How to Use Your Apple Watch’s Built-in Walkie Talkie
To keep in touch with the people you care about, let’s look at how to set up and use the Walkie Talkie app that is built into the Apple Watch.
You and at least one contact must have an Apple Watch running WatchOS 5.3 or later, as well as an iPhone running iOS 12.4 or later and FaceTime enabled. The iPhone and Apple Watch are both now several years old, with iOS 16 and Watch OS 9 respectively. Initial setup ought to take about a minute, and subsequent connections ought to be essentially instant.
1. Open the App and Invite Your First Contact
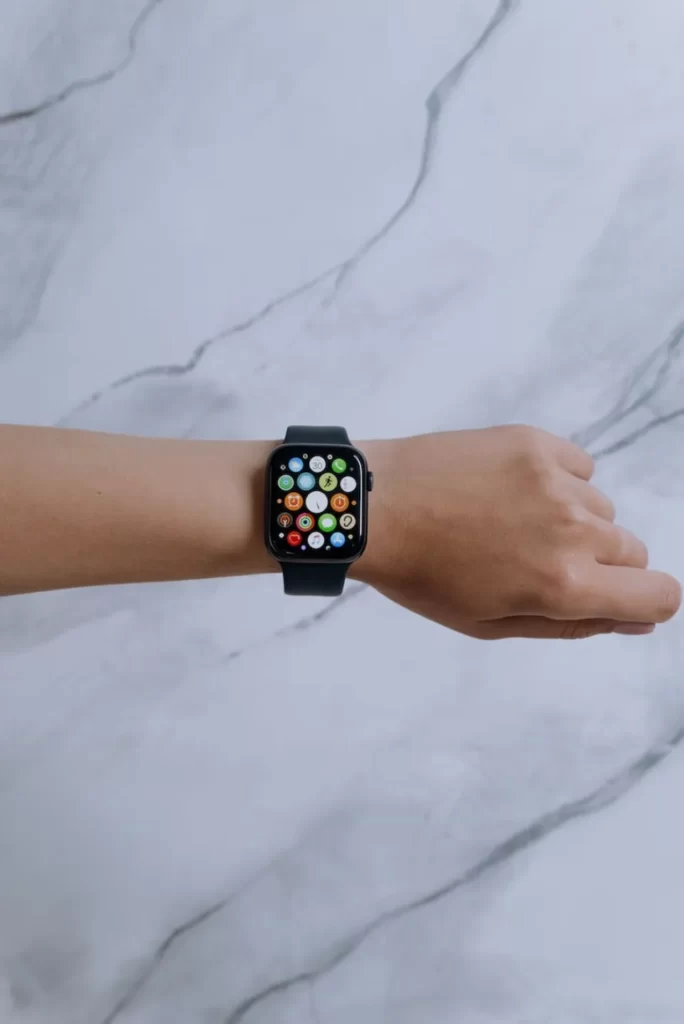
First, open your Apple Watch’s App List by tapping the Digital Crown. Inside, find and tap the Walkie-Talkie app (in red on the left, above). In order to connect with someone if you have never used the app before, you must first add your first contact.
Clicking Add Friends (indicated in red above, on the right) will allow you to do this. When you do, a list of your contacts will be displayed. To invite someone, tap on one. Once they agree, you can move on to the following action.
2. Connect to Your Contact
Your contact will appear on your friends list as soon as they accept your invitation. From there, you just need to tap on them to begin a conversation.
It might take a few seconds for the Walkie-Talkie app to check this contact’s availability if you were previously connected with another contact or if it has been some time since you last spoke with them.
If they’re available (more on how to make yourself unavailable in the FAQ section below) you’ll connect and can proceed to the next step.
3. Start Talking
Once you’re connected with your contact, all you need to do is press and hold the helpfully named Touch & Hold to Talk button and start speaking. After a brief chirp, your voice will be sent to their Apple Watch. When you release the button, a second tone will play to indicate that the other person in the conversation may now speak.
If you have mobility issues, or you’d rather just toggle your connection on and off with a single tap, you can enable this mode by going into the Settings app on your Apple watch and turning on Tap to Talk under the Walkie-Talkie section. When this mode is activated, a single tap will open the microphone and a second tap will close it.
4. Exit the Walkie-Talkie App
You can exit the app and return to your Apple Watch’s watch face by pressing its Digital Crown. By doing this, your Walkie-Talkie app will continue to run in the background so that any Friends can contact you whenever they want.
How to Add Friends to the Walkie-Talkie App
- On your Apple Watch, launch the Walkie-Talkie app.
- Select a contact after tapping Add Friends.
- Await your friend’s response before continuing. Until your friend accepts, their contact card remains gray and is listed under Friends You Invited. Once they agree, the contact card for that person changes to yellow, and you and your friend can start speaking right away.
To remove a friend, open the Walkie-Talkie app, swipe left on the friend, then tap the delete button . Or open the Apple Watch app on your iPhone, tap Walkie-Talkie > Edit, tap the minus button , then tap Remove.
How to Start a Walkie-Talkie Conversation
- the Walkie-Talkie app on your Apple Watch should be opened.
- Tap a friend.
- Say something by pressing and holding the talk button. If you see “connecting” on the screen, wait for Connect via a walkie-talkie. Your friend can hear your voice and start speaking with you right away once the Walkie-Talkie connects.
Your friend will receive alerts when you want to talk as long as they are wearing an Apple Watch and have Walkie-Talkie turned on.
How to Talk over Walkie-Talkie
- Say something by pressing and holding the talk button.
- Release when you’re finished. Immediately after you speak, your friend hears you.
Turning the Digital Crown will alter the volume.

Turn Walkie-Talkie Off Or On
- Activate the Walkie-Talkie app.
- Disable or enable the walkie-talkie. When someone tries to contact you while you are unavailable, a notification asking if you’d like to talk to them will appear.
You can also turn Walkie-Talkie off or on by tapping the Walkie-Talkie button in Control Center.
You can still hear the chimes and your friend’s voice even if Silent Mode is activated in Control Center. You can’t use Walkie-Talkie to communicate once Theater Mode is activated. You can control which Walkie-Talkie alerts appear and when with Do Not Disturb by having it mirror your iPhone settings.
How Do I Make Myself Unavailable Or Disable the Walkie-Talkie App?

There are a few ways to do this:
- To access the Apple Watch Control Center from your watch face, swipe up from the bottom of the screen. In there, find the Walkie-Talkie icon. When the indicator is yellow, both the app and you are active. To disable the app and become unavailable, tap it once. Simply tap the grayed-out icon to re-enable it when you’re ready to be available once more.
- From within the app itself, tap the Walkie-Talkie toggle seen on the top left in the image within Step 2. The toggle’s position on the right with a green indicator indicates that the app is enabled and you are available, while its position on the left with a gray indicator indicates that you are not.
- Activating theater mode will automatically stop incoming Walkie-Talkie conversations until you turn it off again.
- Set your iPhone or Apple Watch to Do Not Disturb mode. Your Apple Watch will always follow the restrictions you’ve set up in your iPhone’s Do Not Disturb settings, so incoming Walkie-Talkie conversations will be blocked unless you’ve chosen to allow them through your active Do Not Disturb mode.


